True dental safety is not a feeling; it is a series of verifiable processes that you, the patient, can observe and question.
- Sterilization is only confirmed by biological spore tests, not just by the look of an instrument or a color-changing strip on a pouch.
- Invisible threats like waterline biofilm and airborne aerosols require strict, non-negotiable protocols between every patient.
Recommendation: At your next appointment, watch for the critical moment: the staff must open a sealed, sterile instrument pouch in front of you. This single act is your most powerful visual confirmation of safety.
In a Montreal dental clinic, the scent of antiseptic and the sight of polished surfaces are designed to inspire confidence. After the heightened awareness of the past few years, however, a germ-conscious patient rightly wonders about the threats that are invisible. You see the clean chair, but what about the internal water tubing? You see a metal instrument, but how can you be certain it’s not just clean, but truly sterile and free from the microbes of the previous patient?
Many offices will offer generic reassurances about “following regulations.” But these statements lack the transparency a concerned patient deserves. The common assumption is that if an instrument is in an autoclave—a high-pressure steam sterilizer—it is automatically safe. This overlooks the critical steps of process validation, monitoring, and handling that form the unbreakable chain of infection control. True safety is not a vague promise; it is a rigorous, evidence-based system.
This guide changes the dynamic. It moves you from a passive patient to an informed observer—a patient-as-auditor. We will go behind the scenes of dental infection control, arming you with the knowledge of an infection control officer. You will learn the non-negotiable protocols, the right questions to ask, and the visible checkpoints that separate a practice that simply looks clean from one that offers verifiable sterility.
To provide a clear and structured overview, this article will dissect the key pillars of modern dental sterilization. We will examine the mandatory tests that prove sterilization works, the management of hidden contaminants in water and air, and the critical protocols you can and should witness with your own eyes.
Summary: A Guide to Verifiable Dental Sterilization
- What Is a Spore Test and Why Must It Be Done Monthly?
- How to Prevent Bacteria Buildup in Dental Chair Water Tubes?
- Why Do Dentists Throw Away So Much Plastic?
- Why You Should Watch the Staff Open Sterile Pouches in Front of You?
- Why Does the Room Need to Sit Empty for 5 Minutes Between Patients?
- Titanium vs. Zirconia Implants: Which Is Better for Metal Situations?
- Why Does Plaque Come Back 12 Hours After a Cleaning?
- Why You Should Watch the Staff Open Sterile Pouches in Front of You?
What Is a Spore Test and Why Must It Be Done Monthly?
A spore test, or biological indicator (BI), is the absolute, definitive proof that a sterilization machine is functioning correctly. While many assume the heat and pressure of an autoclave are sufficient, a BI confirms that the process is lethal even to the most resistant organisms on Earth: bacterial spores. Think of it as the autoclave’s “black box recorder”; it doesn’t just show the machine ran, it proves the cycle achieved a 100% kill rate. The question in the title mentions monthly, but the standard is much stricter.
Professional guidelines are non-negotiable. According to CDC guidelines and most state dental boards, biological monitoring must be performed at least weekly. In Quebec, the Ordre des dentistes du Québec (ODQ) sets stringent standards that clinics must follow, and frequent monitoring is a cornerstone of patient safety. This testing involves placing a vial containing highly resistant spores inside the sterilizer with a normal load of instruments. After the cycle, the vial is incubated.
If the spores are dead and show no growth, the test is negative, and the sterilizer is certified as effective. If they grow, the test is positive. This is a critical failure. The sterilizer must be immediately taken out of service, inspected, and re-tested until it passes. Records of these weekly tests must be meticulously maintained for several years for regulatory audits. As a patient, you have the right to ask a clinic about their spore testing frequency and to see their documented results. A transparent practice will have no issue confirming their compliance.
This test is the bedrock of verifiable sterility. It is an unseen but mandatory process that ensures the instruments used in your mouth are not just clean, but medically sterile.
How to Prevent Bacteria Buildup in Dental Chair Water Tubes?
The water that sprays into your mouth from the dental chair’s instruments must be as clean as, if not cleaner than, your drinking water. However, the complex network of narrow plastic tubes inside the dental unit presents a perfect environment for the growth of biofilm. Biofilm is a slimy, organized colony of bacteria that adheres to surfaces. It is notoriously difficult to remove and can contaminate the water, posing an infection risk. This is a hidden area where rigorous protocols are paramount.
Regulatory bodies have set a clear standard for safety. The CDC recommends dental unit water must meet the standard for drinking water, which is containing no more than 500 Colony-Forming Units (CFU) per milliliter of bacteria. Without active management, the bacteria count in untreated waterlines can skyrocket into the tens or hundreds of thousands of CFU/mL within days. Therefore, clinics cannot simply use municipal tap water without a stringent treatment plan.
This involves a multi-pronged approach to keep the water system pristine and prevent the formation of dangerous biofilm.
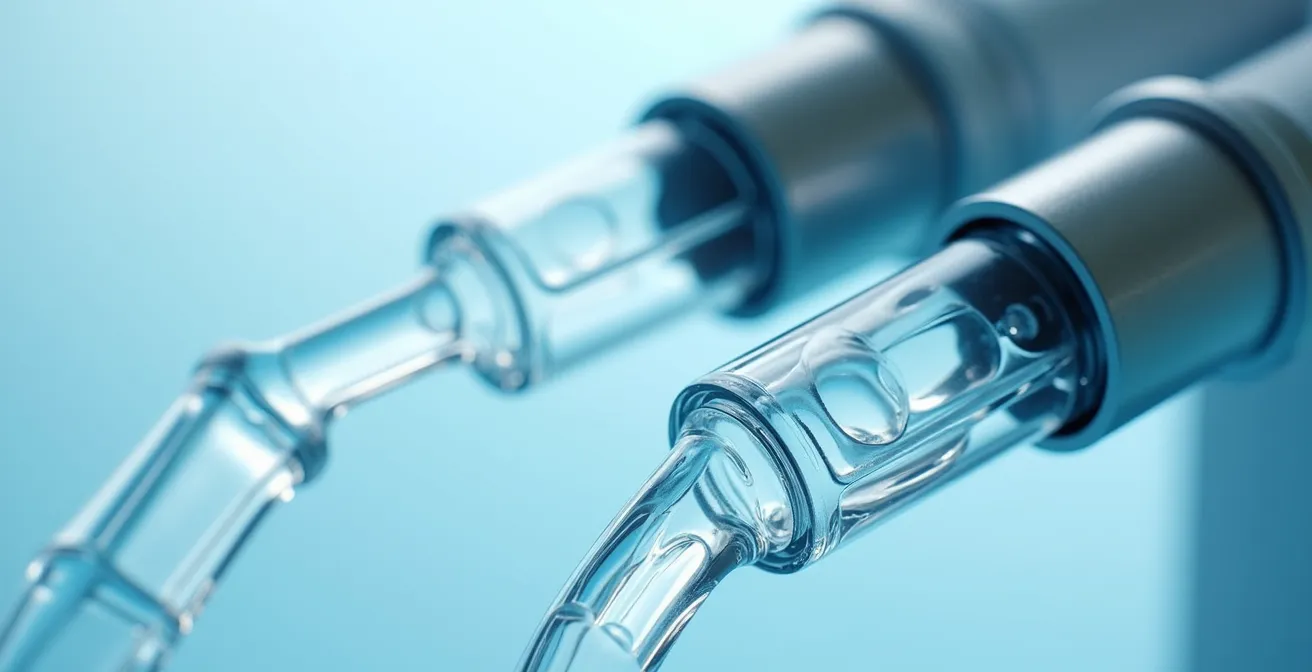
As seen in the clean tubing above, modern clinics use several methods to ensure water safety. These include using independent, closed-bottle water systems filled with distilled or treated water, regularly “shocking” the lines with powerful disinfecting agents to destroy existing biofilm, and using daily maintenance tablets or solutions that prevent new growth. Regular testing of the water output is the only way to verify these protocols are effective. This is another behind-the-scenes process that is fundamental to your safety.
While you cannot see inside the tubes, you can ask your dental office about their waterline treatment protocol. A commitment to this aspect of hygiene is a strong indicator of a safe practice.
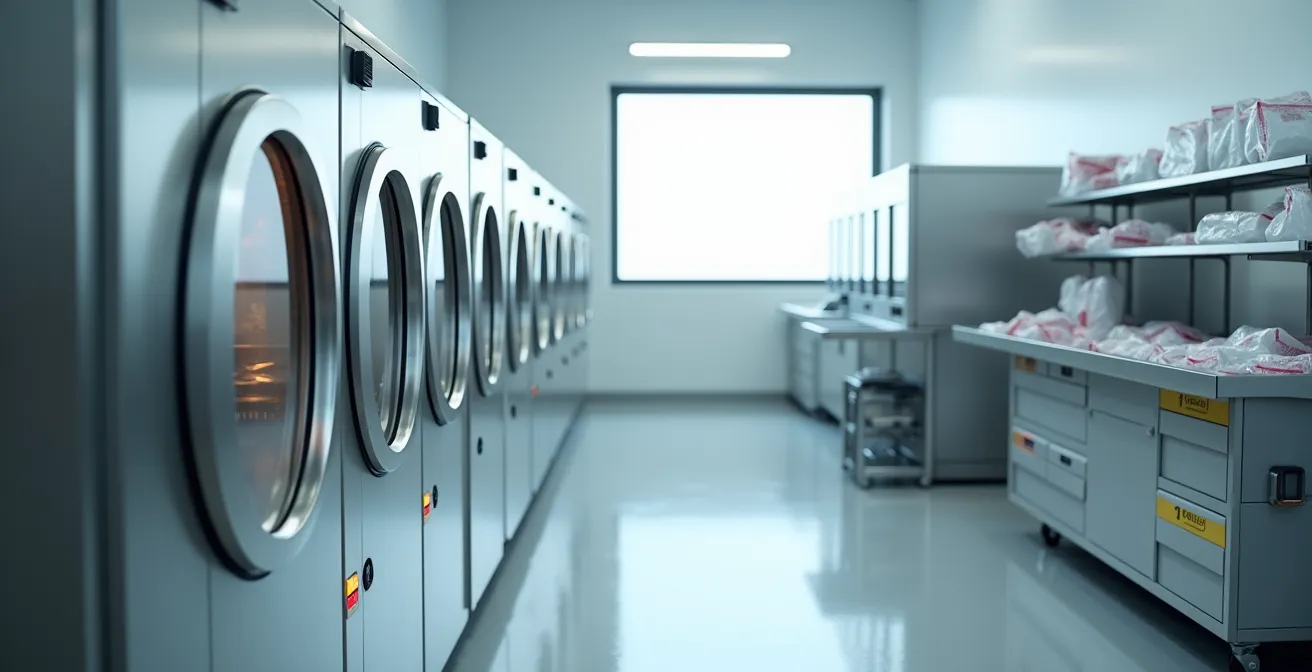
Why Do Dentists Throw Away So Much Plastic?
In an era of environmental consciousness, the amount of single-use plastic discarded after a single dental visit can seem excessive. From blue barrier films covering every handle and switch, to plastic sheaths on syringes and disposable suction tips, the waste adds up. However, from an infection control standpoint, this is not waste; it is a non-negotiable component of patient protection. Every single-use item thrown away is a broken link in the potential chain of cross-contamination.
The rationale is simple: some items, because of their material or complex design, cannot be reliably cleaned and sterilized. A plastic suction tip, for example, has narrow internal channels where biological debris can become trapped, making it impossible to guarantee sterility even after an autoclave cycle. Likewise, electronics like light switches or computer keyboards cannot be submerged or heat-sterilized. The only way to prevent them from becoming vectors for germs is to cover them with a disposable barrier that is replaced for every single patient.
The following table from CDC guidelines clarifies the distinction between items that can be reused and those that must be single-use.
| Item Type | Reusable Option | Single-Use Requirement | Safety Rationale |
|---|---|---|---|
| Surgical instruments | Heat sterilization required | Not applicable | Can withstand autoclave temperatures |
| Barrier films | Not possible | Mandatory disposal | Cannot be effectively sterilized |
| Suction tips | Limited options | Most are single-use | Complex internal channels prevent complete cleaning |
| Patient bibs | Not recommended | Disposal after each patient | Direct contact with patient fluids |
In Montreal dental clinics, you will see this principle in action with items like disposable prophy angles for polishing, single-use needle tips, and patient bibs. The use of these items is not a matter of convenience; it is a strict adherence to infection control standards that prioritize your safety over all other considerations. Seeing these items being discarded is a positive sign of a diligent practice.
Therefore, when you see your dentist’s team disposing of these plastic items, you are witnessing the infection control process working exactly as it should.
Why You Should Watch the Staff Open Sterile Pouches in Front of You?
A sterile instrument pouch is more than just a wrapper; it’s a time-stamped, validated container that maintains a sterile environment until the moment of use. The information printed on it and the indicators it carries provide a paper trail for the sterilization cycle. Observing this pouch is a key part of your role as a patient-auditor. Before it is even opened, the pouch itself tells a story about the process and provides visible checkpoints for sterility assurance.
A properly processed pouch should have several key features you can look for. The Centers for Disease Control and Prevention (CDC) provides clear guidance on this. In their best practices, they state:
Packages should be labeled to show the sterilizer used, the cycle or load number, the date of sterilization, and, if applicable, the expiration date
– Centers for Disease Control and Prevention, Best Practices for Sterilization in Dental Settings
In addition to the date and load number, every pouch has an external process indicator. This is typically a strip or patch of ink that changes color (e.g., from pink to brown) when exposed to the heat of the autoclave. It is important to understand that this only confirms the package has been *through* a cycle; it does not prove the cycle was successful. Only the weekly biological indicator (spore test) can do that. However, an unchanged process indicator is an immediate red flag that the pouch should not be used.
Your Pre-Treatment Sterility Checklist
- Surface Barriers: As you enter the room, observe high-touch surfaces. Are the light handles, chair controls, and keyboards covered in fresh, blue plastic barrier film?
- Instrument Presentation: Look at the instrument tray. Are the instruments presented in a sealed, intact sterile pouch or a wrapped cassette? They should never be loose on the tray.
- Indicator Verification: Glance at the sterile pouch. Can you see an external chemical indicator? Has it changed to the correct “processed” color?
- Opening Protocol: The critical moment. Does the assistant or dentist open the sterile pouch in your full view, immediately before starting the procedure?
- Staff PPE: Is the clinical team wearing appropriate Personal Protective Equipment, including fresh gloves (donned in front of you), masks, and protective eyewear?
By observing these simple but critical details, you can gain significant confidence in the clinic’s adherence to proper infection control protocols.
Why Does the Room Need to Sit Empty for 5 Minutes Between Patients?
After a patient leaves the dental operatory, you may notice that the room is not immediately turned over for the next person. This waiting period, known as “fallow time,” is a critical component of modern infection control, particularly for managing airborne contaminants. Many dental procedures, such as using a high-speed drill or an ultrasonic scaler for cleanings, generate a fine mist of aerosols and spatter containing saliva, blood, and microbes from the patient’s mouth.
These microscopic particles do not simply fall to the ground; they can remain suspended in the air for an extended period, posing an inhalation risk and eventually settling on surfaces throughout the room. The fallow period is a calculated pause that allows these aerosols to settle out of the air. Once settled, they can be effectively removed from surfaces through rigorous cleaning and disinfection. Current protocols recommend a fallow time that can range from 5 to 30 minutes, depending on the procedure performed and the room’s air quality management systems.
High-quality air management is a key part of this process. Top-tier clinics in Montreal invest in engineering controls to supplement this waiting period.
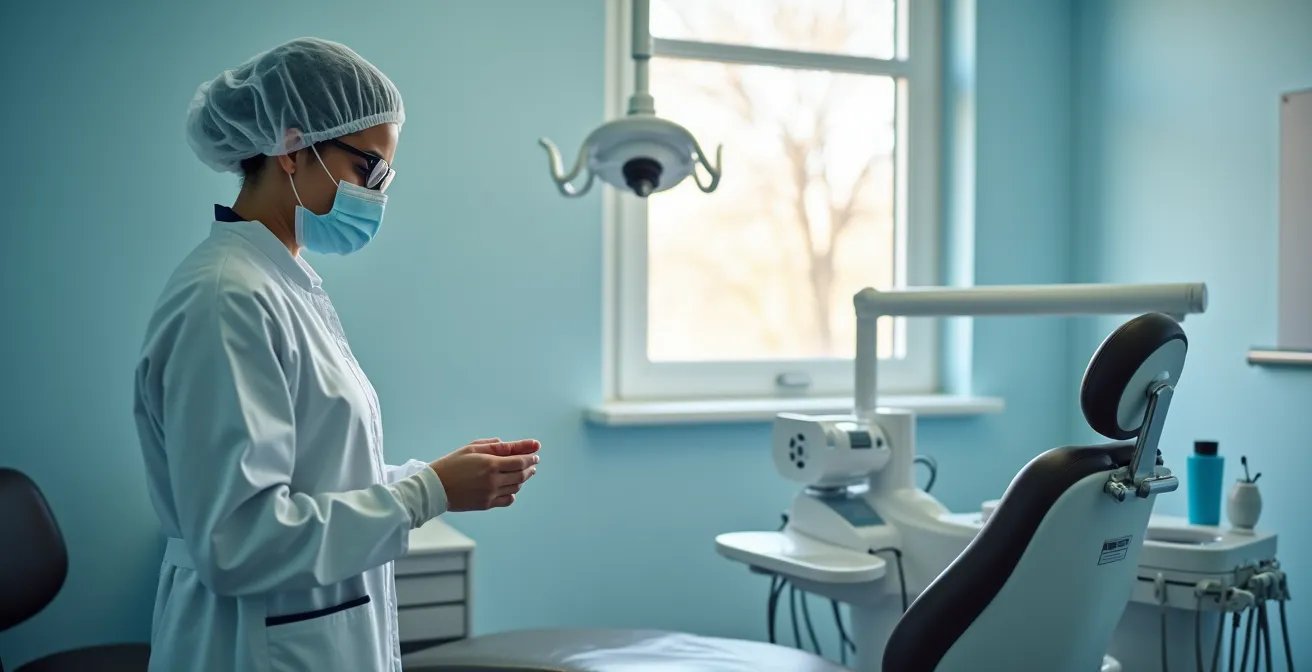
As depicted in this modern operatory, many practices now utilize high-efficiency particulate air (HEPA) filtration units. These systems actively capture airborne particles, significantly reducing the concentration of aerosols and shortening the required fallow time. This combination of a calculated waiting period followed by meticulous surface disinfection ensures that the air and all surfaces in the room are safe before the next patient enters. This protocol is fundamental to breaking the chain of airborne disease transmission.
This deliberate pause is not downtime; it is an active and essential safety measure, demonstrating a clinic’s commitment to protecting both patients and staff from invisible threats.
Titanium vs. Zirconia Implants: Which Is Better for Metal Situations?
When discussing dental implants, the conversation often turns to materials like titanium versus zirconia. However, within the context of infection control and sterility, the specific material is secondary to the absolute requirement for a sterile surgical field. The question is less about which material is “better” and more about how sterility is guaranteed for any implant being placed. Both titanium and zirconia implants arrive at the dental clinic pre-sterilized from the manufacturer in a sealed, tamper-evident package.
The primary responsibility of the dental team is to maintain this sterility from the moment the package is opened until the implant is fully seated in the bone. This is known as aseptic technique. The implant itself should never be touched by non-sterile gloves or instruments. If an implant is dropped or contaminated in any way, it must be re-sterilized or discarded. The sterilization requirements for the implants themselves are clear, but the real focus is on the instruments used to place them.
The following table outlines the status and protocols for these common implant materials, reinforcing that the core principles of sterilization apply to both.
| Material | Pre-sterilization Status | Sterilization Protocol | Plaque Affinity |
|---|---|---|---|
| Titanium Implants | Factory pre-sterilized | Steam autoclave if contaminated | Standard bacterial adhesion |
| Zirconia Implants | Factory pre-sterilized | Steam autoclave if contaminated | Lower plaque affinity reported |
For a clinic in Montreal, adhering to the surgical sterility standards set by the ODQ and informed by bodies like the RCDSO is mandatory. This involves a protocol far more rigorous than a standard dental check-up. It includes using a dedicated sterile surgical kit for every implant procedure, the use of full surgical drapes to create a sterile field around the patient’s mouth, and often a biological indicator (spore test) run with every single implant-related sterilization load. This ensures the highest level of verifiable sterility for all surgical instruments involved.
As a patient, you should expect to see the room prepared like a mini-operating room, a clear sign that the clinic is upholding the strict standards required for surgical implantology.
Why Does Plaque Come Back 12 Hours After a Cleaning?
It can be disheartening to feel your teeth are no longer perfectly smooth just a day after a professional cleaning. This rapid return of plaque is not a sign of a poor cleaning but a testament to the relentless efficiency of oral bacteria. The moment your cleaning is finished, a process of recolonization begins. Plaque is not just food debris; it is an organized bacterial community—a biofilm—identical in nature to the kind that clinics fight to prevent in their waterlines.
The process starts immediately. Within minutes of a professional polish, a thin, invisible layer of proteins from your saliva, called the acquired pellicle, coats the tooth surfaces. This layer acts like a welcome mat for the first bacteria to attach. These early colonizers are typically less harmful, but they create a foundation for more pathogenic bacteria to join. Research shows plaque begins reforming within 12 to 24 hours, rapidly developing into microcolonies and then a mature, complex biofilm.
This process of colonization and microcolony formation is a natural biological event. Professional cleaning completely removes the mature biofilm, disrupting the colonies and setting the clock back to zero. However, it cannot eliminate all bacteria from the mouth. The rapid return of plaque underscores why daily home care is not just a suggestion but a critical part of oral health management. Brushing and flossing disrupt these newly forming colonies before they can mature into the destructive biofilm that causes cavities and gum disease. Your professional cleaning gives you a clean slate; your daily hygiene is what maintains it.
Therefore, the return of plaque is not a failure of the cleaning but a fundamental aspect of oral microbiology, highlighting the essential partnership between your dental team and your own daily efforts.
Key Takeaways
- Verifiable sterility is proven by weekly biological spore tests, not by appearance or process indicators alone.
- Visible signs of safety matter: look for fresh surface barriers, sealed instrument pouches, and ask about air and water management protocols.
- The patient’s most powerful checkpoint is witnessing a sealed, sterile instrument pouch being opened in their presence, confirming the final step in the chain of custody.
Why You Should Watch the Staff Open Sterile Pouches in Front of You?
While spore tests and waterline treatments are crucial behind-the-scenes systems, the single most important moment for a patient-auditor occurs in the open. The act of a dental professional opening a sealed, sterile instrument pouch in your presence is the final, transparent link in the chain of custody for a sterile instrument. It is the culmination of the entire infection control process, made visible and verifiable at the point of care.
Think of the journey of an instrument: it is cleaned, inspected, packaged, sterilized, and stored. Each step carries a risk of contamination. The sealed pouch is the vessel that protects it throughout this journey. Opening it just before it is used on you, and only you, is the clinic’s definitive statement that they are delivering a sterile instrument. If a pouch is opened out of your sight, or if instruments are already laid out on a tray when you enter, the guarantee of sterility is broken. There is no way to know if they were contaminated after being opened.
This ritual is not just for show; it is a fundamental patient right and a cornerstone of aseptic technique. It confirms that the instrument has not been exposed to the open-air environment, touched by non-sterile hands, or laid on a potentially contaminated surface. It is the practice’s non-verbal contract with you, confirming that your safety is their final and most immediate priority before the procedure begins. A practice that normalizes this step demonstrates a deeply ingrained culture of safety.
For your next appointment at any Montreal clinic, do not be hesitant to watch for this step. A truly safe practice will not only perform this ritual every time but will also welcome your informed interest in their infection control protocols.